In this tutorial, we will try streaming TV from the TV Tuner Stick Mygica T230C brand. Basically, this TV stick is only for watching TV on a PC or laptop. We did this experiment to avoid complicated antenna cables. We can watch TV on a laptop or television in all rooms using only Android TV and Wifi.
However, if you want, the TV produced is streamed to the Internet and can be played on your TV Online website. With TVHeadend, you can even record your favorite TV shows.
Equipment Needed
The tools needed to make streaming TV online are:
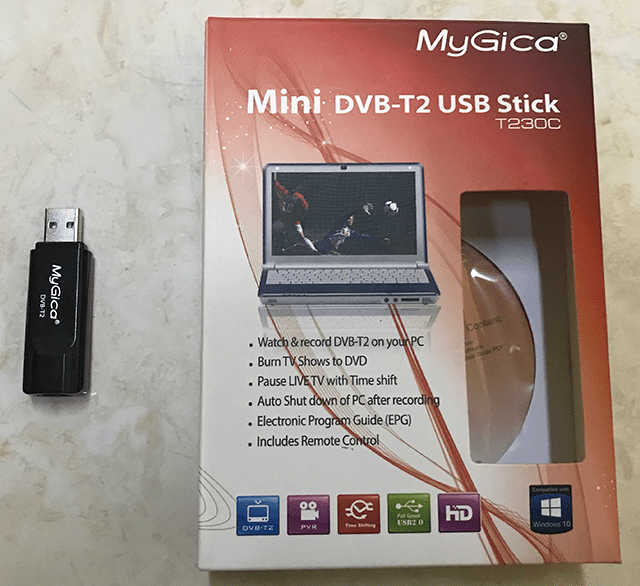
- USB TV Stick MyGica T230C (Buy Here)
- Antenna with good signal power
- 1 Server installed Ubuntu 18 or higher
- Internet-connected LAN network
In this experiment, we used a Proxmox Virtual Machine with 4 processor cores and 4GB RAM. In the next article, we will try to use Raspberry Pi or Orange Pi as a server. For antennas, we use PF Digital HDU-25.
Server Installation
The installation stage that we will do is install the TV Stick driver, Install TVheadend, and configure TVheadend software. For TV stick drivers we will use media build from linuxtv.
Server Update
Before continuing, first update the Ubuntu 18 server that has been prepared. Our advice, run the command with the root user by typing in the sudo su allotment, then enter your password.
apt update
apt upgrade -y
Driver Installation
Installing a TV stick driver takes a long time because it downloads a reasonably large source. The time needed depends on the speed of the internet in your place. Type the code below. We will install the driver from the location /usr/local/src.
cd /etc/usr/local/src
apt-get install -y git build-essential patchutils libproc-processtable-perl
cd media_build
./build
make install
TVHeadend Installation
After the Driver Installation is complete, continue with installing TVHeadend. Type the following code.
apt-get -y install coreutils wget apt-transport-https lsb-release ca-certificates
wget -qO- https://doozer.io/keys/tvheadend/tvheadend/pgp | sudo apt-key add -
add-apt-repository 'deb https://apt.tvheadend.org/stable bionic main'
apt-get update
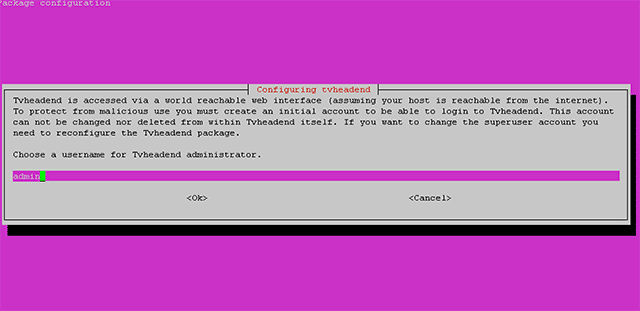
apt-get install tvheadend -yDuring installation, you will be asked to enter a username and password to log in to TVHeadend. Please enter your username and password as you wish.
Next, you will get a confirmation that TVHeadend will be able to be accessed via port 9981, please press enter to continue. When finished, restart your server so that new drivers can be downloaded.
rebootTVheadend Configuration
After your server is UP, then we will configure TVHeadend that is already installed. Enter through a browser with port 9981, use your server's IP address, in this experiment we use ip 192.168.77.101 so enter the browser address 192.168.77.101:9981. Log in with the username and password that was created.
In the initial stage, a wizard will appear, select the appropriate language, then just next to the finish. When done, select the DVB Input tab -> TV Adapter. Your TV Stick should have been detected, as shown below.
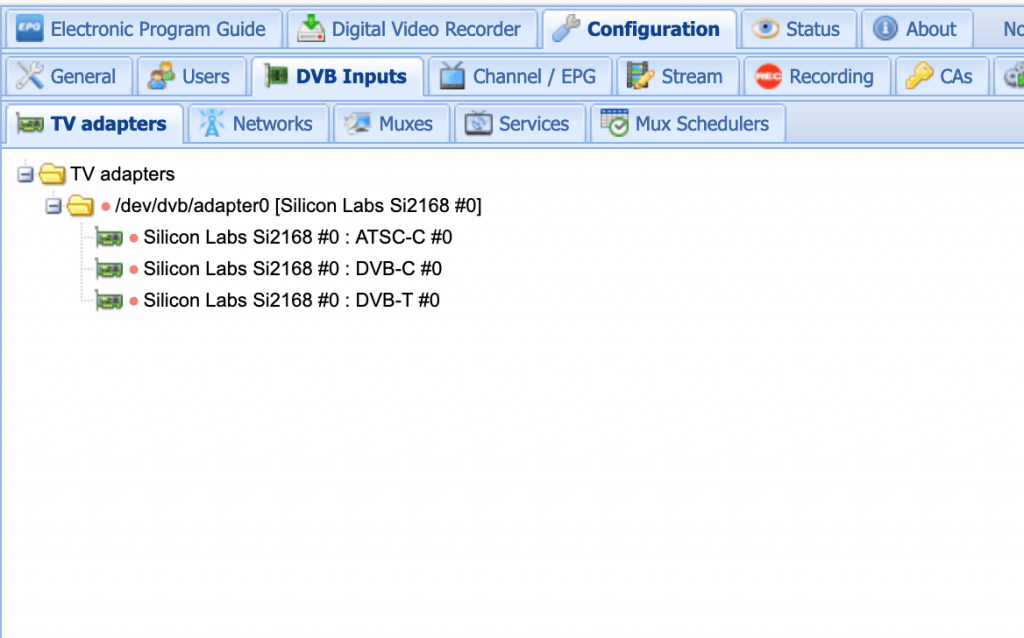
If your TV stick has not been detected, please repeat from the first step.
Scan Channel
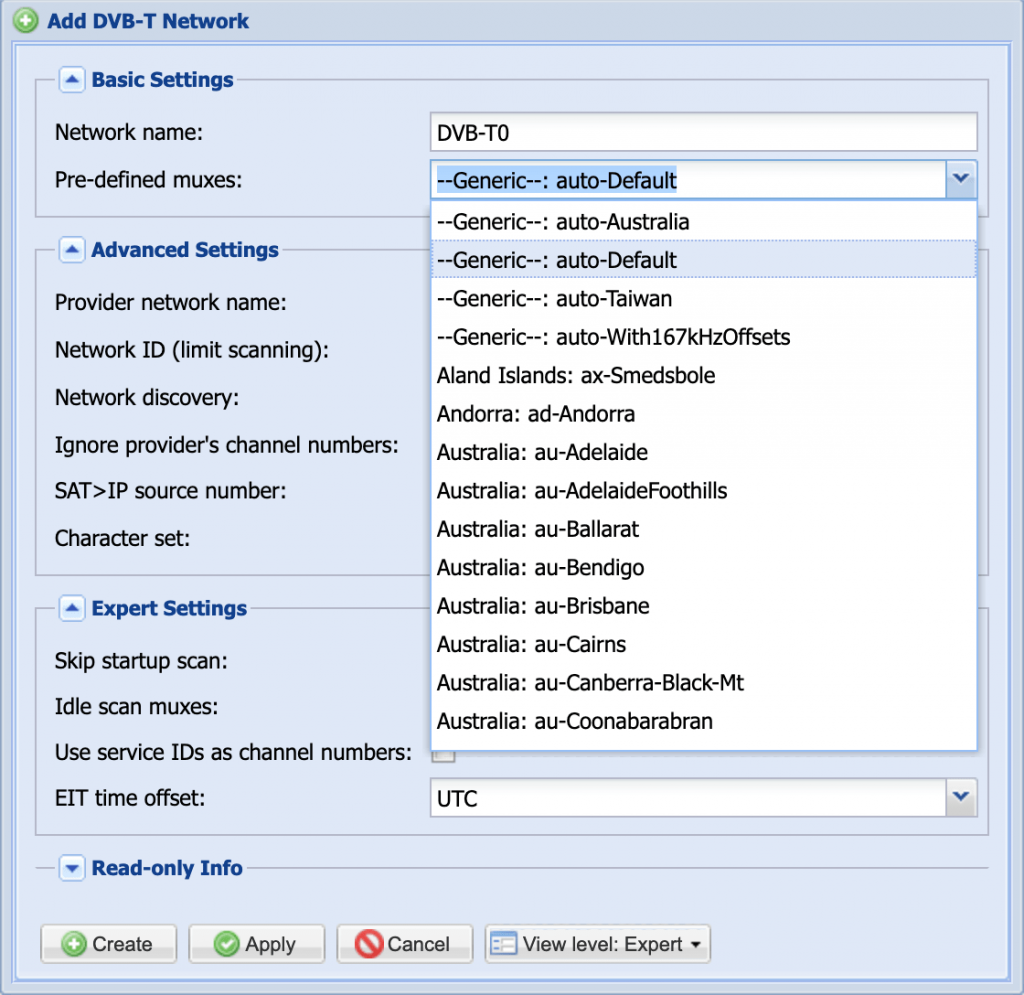
If everything is OK, then we will scan the channel. Click on the DVB Inputs -> Network tab. Click on the Add button, then select the DVB-T Network type. Enter Network Name, in this case, for example, I enter DVB-T0. In the Pre-defined Muxes column, select Generic - auto-Default. Then press Create.
After the new network is created, go to the Muxes tab. You will see the muxes that were successfully created from the predefined muxes that were selected.
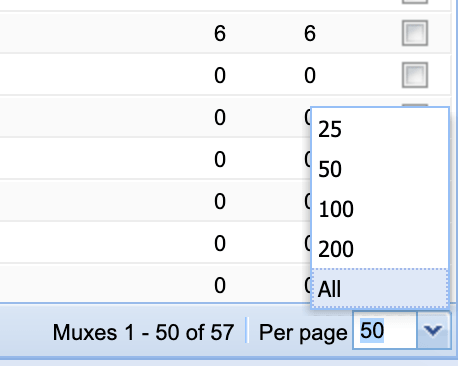
In the lower right, click All to display all the muxes in the Per page column.
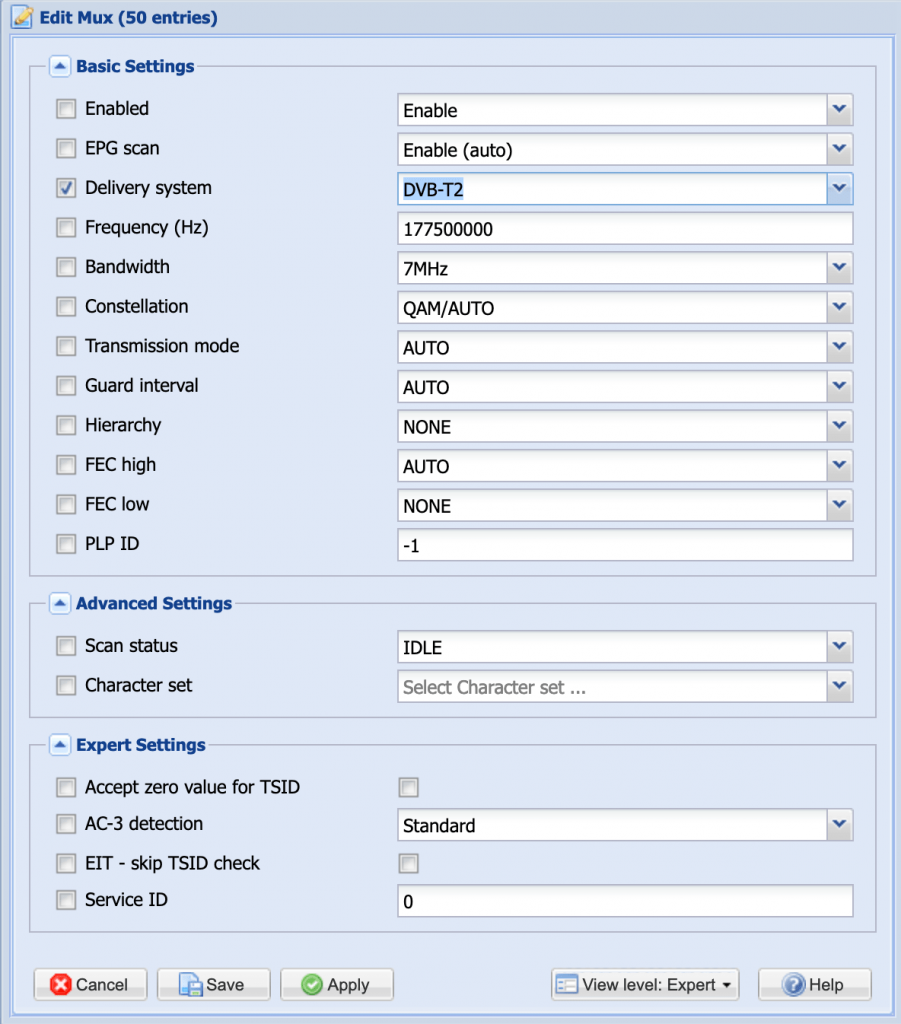
Next, hover over one of the muxes, then press CTRL-A to select all muxes. After being selected click on the Edit button. Check the Delivery system column, then select DVB-T2. At this stage we will change the reception system to DVB-T2 because digital TV in Indonesia uses T2. After selecting click on the Save button.
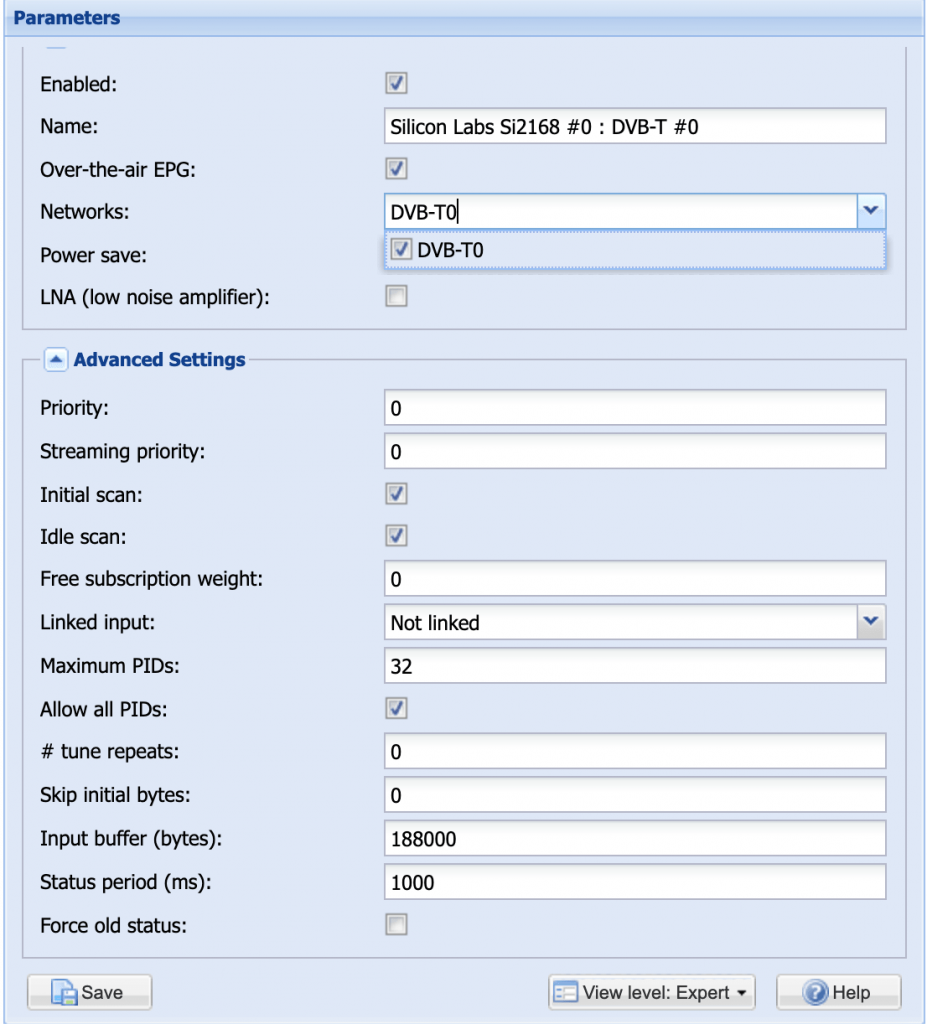
Then click on the DVB Inputs tab -> TV Adapters. Select the DVB-T device in this example we chose Silicon Labs Si2168 # 0: DVB-T # 0. A new window will appear on the right. In the Enabled tick check column and in the Networks column select the network name that was already created, in this case we chose DVB-T0. Then click Save.

Then click on the DVB Inputs tab -> TV Adapters. Select the DVB-T device in this example we chose Silicon Labs Si2168 # 0: DVB-T # 0. A new window will appear on the right. In the Enabled tick check column and in the Networks column select the network name that was already created, in this case we chose DVB-T0. Then click Save.
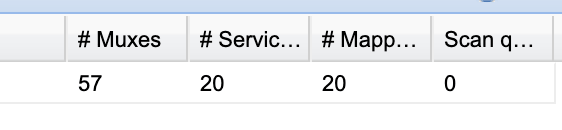
Then go back to the Network tab, then click Force Scan. The system will scan, wait until it's finished. You will see how many channels you get. During this experiment, we only got 20 channels. In our place, the digital signal was not good.
Channels that were successfully scanned will be entered in the Services tab. Click on the Services tab to see all channels.
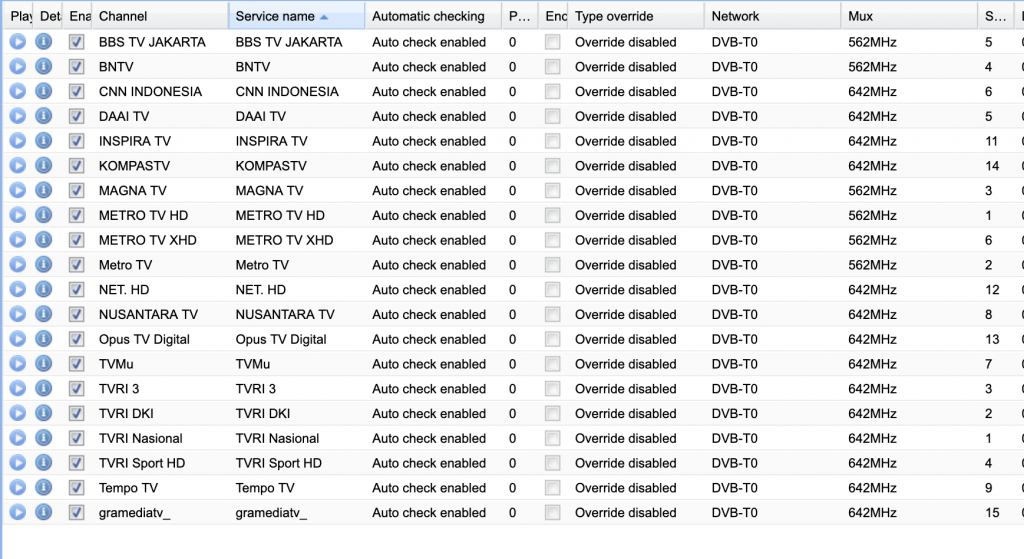
At this stage, you can watch TV using VLC. Click on the play button on the left, then select open using VLC Media Player.
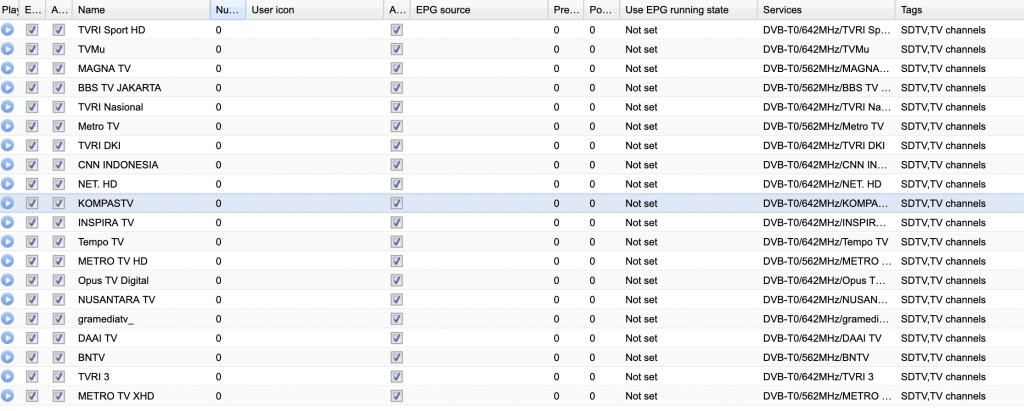
Channel Mapping
Next, we will do a channel mapping, select all channels, then click Map Services -> Map Selected Services. Alternatively, you can choose Map All Services if you want to display all channels. Wait until it's finished. When finished, the channel will appear on the Channel / EPG tab.
Until this stage, it's finished. If you use passwords, you can install the TVHeadend plugin. However, if you use another player, for example, Perfect Player on Android TV, you must export the playlist in the form of m3u.
Export m3u
To be exported as m3u, create a new user and password. Click on the User tab -> Access Entries then click Add. Create a new user and check the required part. In this experiment, we tried to use the teknotut user and password.
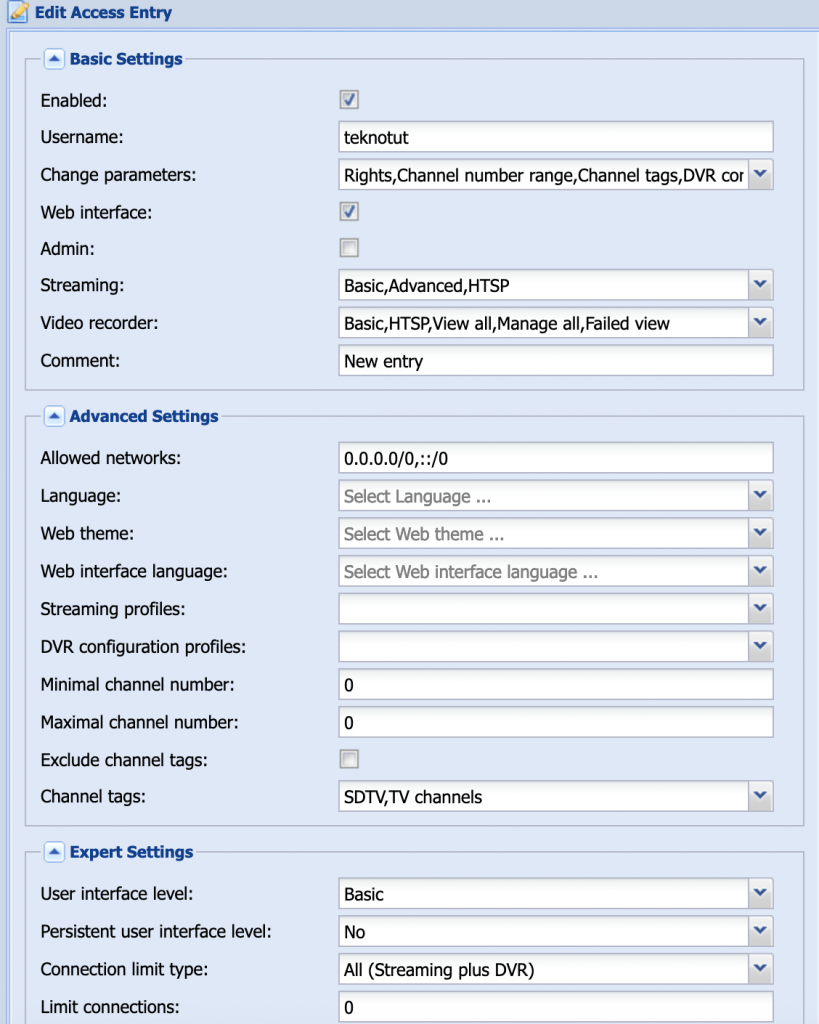
After the user is created, please create a password for the user on the Users tab -> Password, then type the password of your choice, then click Save.

Now when you're done, you can export the m3u playlist by entering the URL http://username:[email protected]:9981/playlist/channels. Adjust the IP address with your server's IP address.
TV streaming uses Kodi
If you use Kodi as your TV player, the setting method is very easy. TVHeadend is available in the form of Add-ons. You only need to install it, activate and do a few settings. In this experiment, we used Kodi 18.1 Leia.
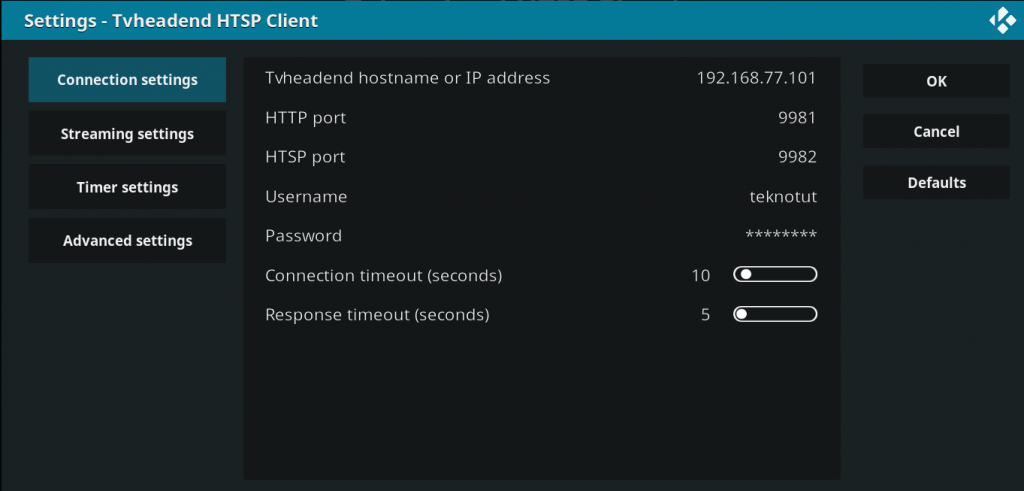
In the Kodi main view, select Setting -> Addons -> PVR Client -> TV Headend HTPS Client. Then click on the Install button, wait until the installation process is complete. When done, reopen the Headend HTPS Client, click on the Configure button. Enter TVHeadend data from your installation.
- TVHeadend Hostname or IP address : 192.168.77.101
- HTTP Port : 9981
- HTPS Port : 9982
- Username : teknotut
- Password : teknotut
Adjust the IP, username and password that you have installed. For details, please see the picture below.
When finished press the OK button. There will be a request to restart. Please restart your Kodi. Then open your Kodi again, and enter the TV menu. Currently, the channels that have been mapped in the previous stage have appeared. Try testing the channel, streaming your TV is complete.

Conclusion
From the results of the experiments we did, Streaming TV using a TV stick and TVHeadend was not very complicated. The disadvantage, if you watch together, can only be on the same frequency.
If at a different frequency the TV will not be turned on. If you want to be able to watch all channels simultaneously, you must provide a different TV Stick. With one TV stick, for example, at a frequency of 642Mhz, you can watch 14 channels simultaneously.
From the results of our trial, the maximum different channels are watched simultaneously. What can be run on one USB stick are 8 channels. When you watch different channels above 8 channels, the sound does not appear. Maybe it's because of the bandwidth capacity on USB devices.
Another weakness is the server device which is actually wasteful in terms of electricity. In the next experiment, we will try to use the Raspberry Pi or Orange Pi, which is more energy efficient.