
VNC Server is the software used to do VNC (Virtual Network Computing) desktops on Linux environments. If you use the Windows Operating System, you only have to activate Remote Desktop. But on Linux, you have to install VNC Server so you can do remote desktop in real-time.
There is much software for VNC servers, but in this article, we will only discuss how to install VNC servers using TigerVNC. For information about TigerVNC, you can directly visit the official site on the page https://tigervnc.org/.
Preparation
To follow this article, you must prepare an Ubuntu 18.04 server that can be remote via SSH or directly from the terminal on the screen. An adequate internet connection is needed to download the software.
You can use Droplet from Digitalocean with a minimum RAM of 512 MiB. If you are a new user, you can get $200 credit if you register from the button below.


For VNC clients from your computer. You can use the VNC Viewer application, for example, RealVNC. Please download the app and install it on your computer. You can get the RealVNC Viewer download page at VNC Viewer Download.
In this experiment, we used a Dedicated Server with Ubuntu 18.04.1 (Bionic Beaver) OS that was accessed using SSH with a local connection.
Install VNC Server
System Update
Before we continue the installation, make sure your server has been updated to the latest version.
sudo apt update
sudo apt upgrade -y
If there is an update, you should restart your server so that you can boot with the latest application.
sudo rebootInstall Tiger VNC
After server up again, install the required packages, then install TigerVNC.
sudo apt install xserver-xorg-core
sudo apt install tigervnc-standalone-server tigervnc-xorg-extension tigervnc-viewer
Install Gnome
Next, we will install Gnome Desktop on our Ubuntu server.
sudo apt install ubuntu-gnome-desktopStart the gnome desktop service, and make sure it runs when booting.
sudo systemctl start gdm
sudo systemctl enable gdm
VNC Password Settings
Next, we will set the VNC password that will be used when we are connected to VNC Server. Use the following command.
vncpasswordEnter your password, then verify. You can make the password read-only if needed. But if it's not required, you can confirm by pressing the N button.
If the vncpassword command doesn't work, use the vncserver command, enter the password, then kill vncserver.
vncserver
vncserver -kill :*
Startup Script Settings
Next, we will create a startup script as the initial configuration that will be executed when the VNC Server is activated. Create a ~/.vnc/xstartup file with the nano command.
nano ~/.vnc/xstartupThen fill in the following code.
#!/bin/sh
[ -x /etc/vnc/xstartup ] && exec /etc/vnc/xstartup
[ -r $HOME/.Xresources ] && xrdb $HOME/.Xresources
vncconfig -iconic &
dbus-launch --exit-with-session gnome-session &
Start VNC Server
To run the VNC Server, you can use the following command.
vncserver -localhost no -geometry 800x600 -depth 24The above option will create a session that allows connections from outside with 800 × 600-pixel resolution and sharpness 24. You can configure the resolution and sharpness according to your taste.
Start Stop Script
To make it easier, we will create a script to start the VNC server service. Also, with this script, we can make autostart VNC servers when the computer is turned on. Create a file with the name [email protected] in the /etc/systemd/system folder. Use the nano command.
sudo nano /etc/systemd/system/[email protected]Then fill in the following script.
[Unit]
Description=VNC Server by TeknoTut
After=syslog.target network.target

[Service]
Type=forking
User=away

# Clean any existing files in /tmp/.X11-unix environment
ExecStartPre=/usr/bin/vncserver -kill :%i > /dev/null 2>&1 || :
ExecStart=/usr/bin/vncserver -geometry 800x600 -depth 24 -localhost no :%i
ExecStop=/usr/bin/vncserver -kill :%i

[Install]
WantedBy=multi-user.target
Note that in the User row, make sure the user matches the user you are using. Because we use a user away, we fill the option away.
Stop all VNC sessions if available.
vncserver -kill :*Make sure to enable at startup, then restart VNC Server.
sudo systemctl enable vncserver@1
sudo systemctl start vncserver@1
Up to this point, your VNC Server has finished, and can automatically be used when your server is restarted.
Connect to VNC Server
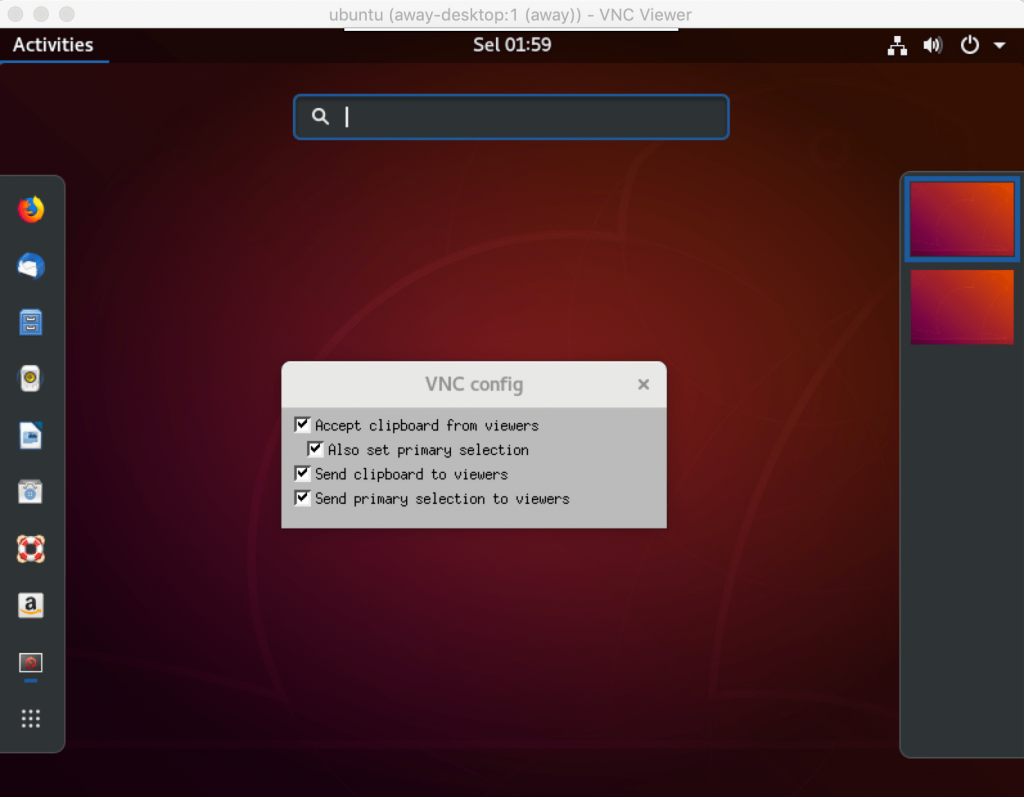
Well, after the installation process is complete, you can connect to the VNC Server by using the VNC Viewer that we have previously installed.
Enter your server's IP address with port 5901 (For ID 1). If successful, you will be asked for a VNC password. Enter the VNC password that was previously set.
Another thing
There are several things to know about VNC Server to better understand how VNC Server works.
See if VNC Server is active
You can verify that your VNC Server is active and running with the following command.
pgrep XtigervncOr,
ss -tulpn | egrep -i 'vnc|590'
See who is connected
To view listings of anyone connected to a VNC server you can use the following command.
vncserver -list
Delete the VNC session
You can delete a VNC session with the following command.
vncserver -kill :1The above command will delete the VNC session with ID 1. You can customize the ID. Or you can remove all VNC sessions with wildcard marks.
vncserver -kill :*When this command is run, all connected to VNC will be automatically disconnected.
Conclusion
Not all Linux applications can be executed with the CLI (Command Line Interface). Some apps can only be done through the desktop. Ubuntu 18 with Gnome has a beautiful and easy to use display.
Install this VNC Server so that we can remote desktop display, and do a desktop activity from any computer. The installation method is very easy.
Hopefully, this article helps.